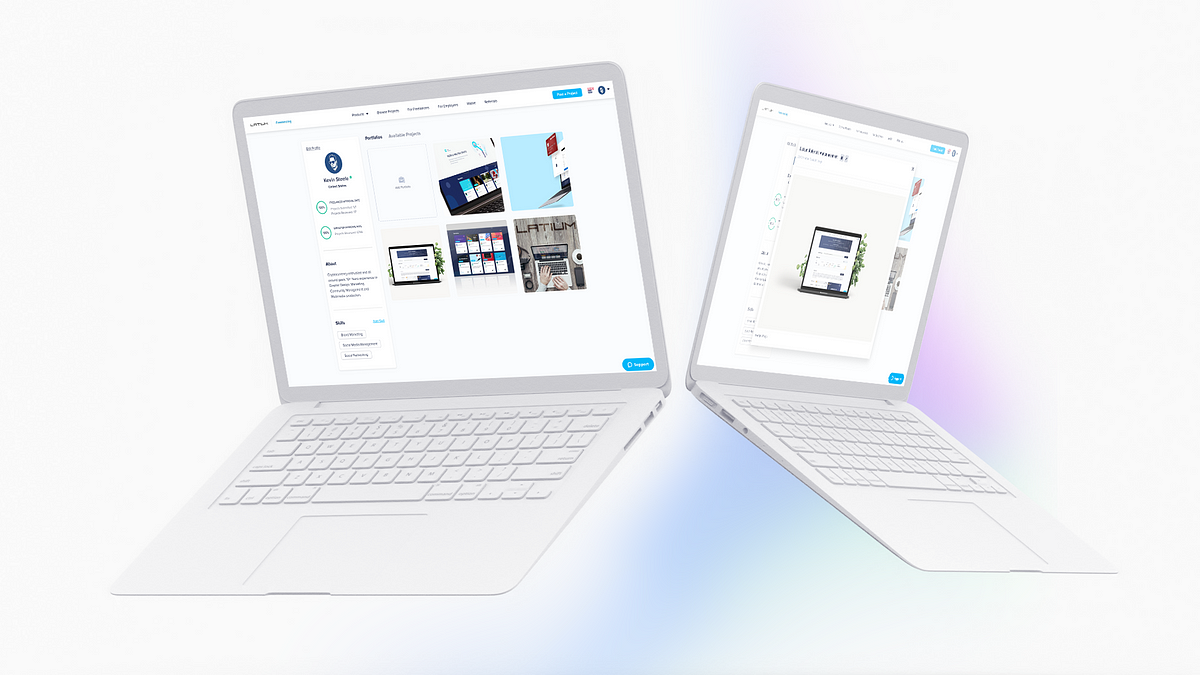
With many of the updates recently to the Latium platform, Freelancers have more opportunities to work and earn within the Latium Freelancing platform. Today, we present a guide on how to quickly get started earning and working with Latium.
Signing Up
To get started, first go to Latium.org and select “Sign Up Free”

From the “Sign-Up” page you will be presented with a relatively standard set of registration fields for creation of a Latium Freelancing account.

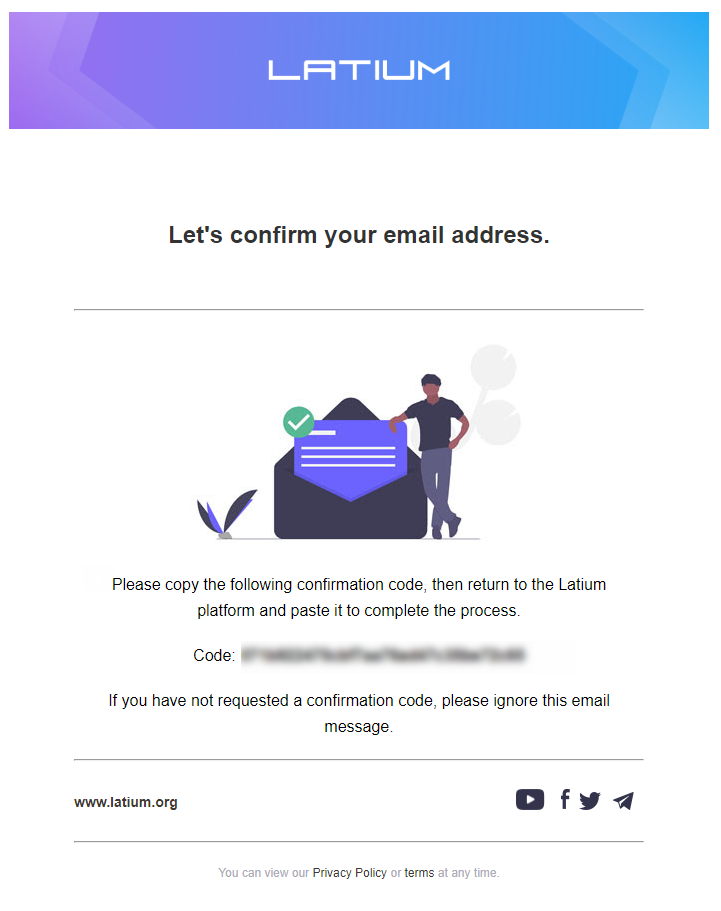
After completing registration you’ll be asked to confirm your email address by inputting the login code sent to your previously used email address.

Next, we are presented with an option to jump into creating projects as an Employer or earning as a Freelancer. For the sake of this article, we will choose the “I Want to Work” option to continue going through the Freelancer process.
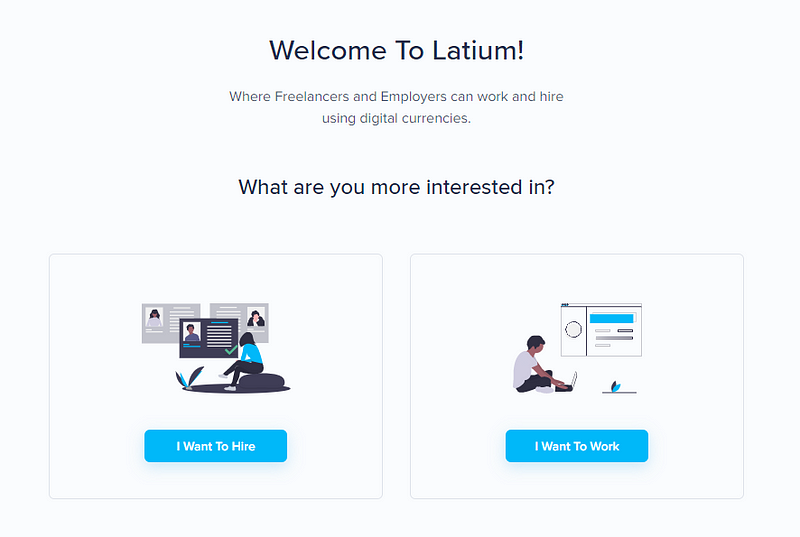
After selecting to work, we will complete the On-boarding questions to make your account more visible to prospective employers on the platform.
On-boarding Process
First, you can optionally upload an avatar. This is an image that will be displayed in thumbnail view when employers are reviewing your applications and contracts or bids.
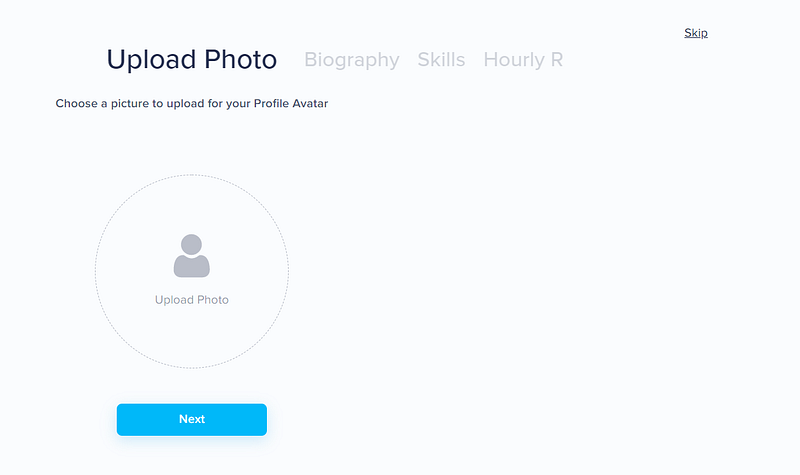
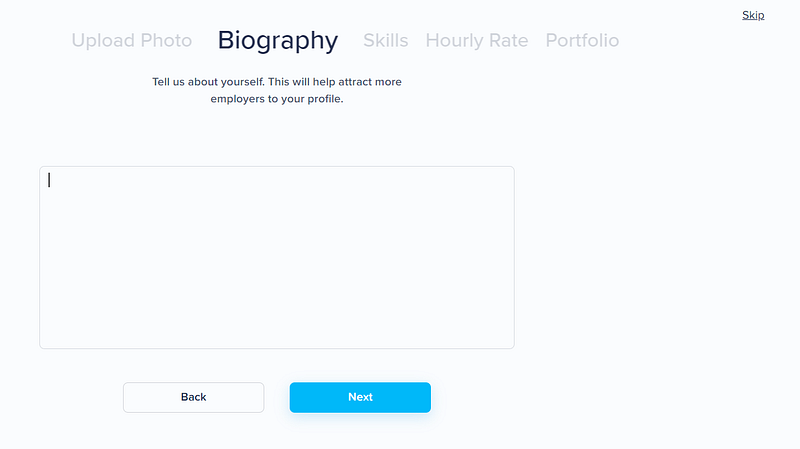
Add Biography
Next you can complete a biography to let employers and fellow freelancers alike get to know you a little better. Being specific and unique helps set your portfolio apart from the competition and better identify why you are appropriate for a given project.
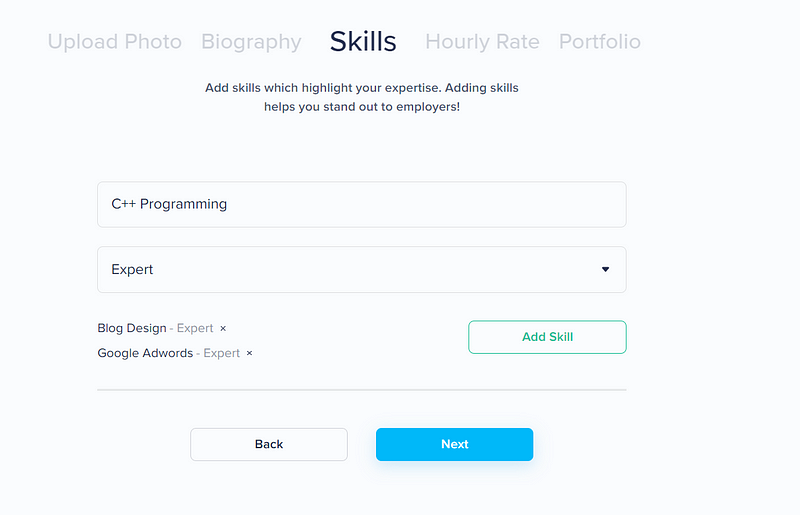
Add Skills
After creating a biography, you will next be able to add some skills that you currently have. You must add at least one skill, but can add several as you see fit. To add a skill, first search for an existing or create a new skill and input your experience level for the given skill.
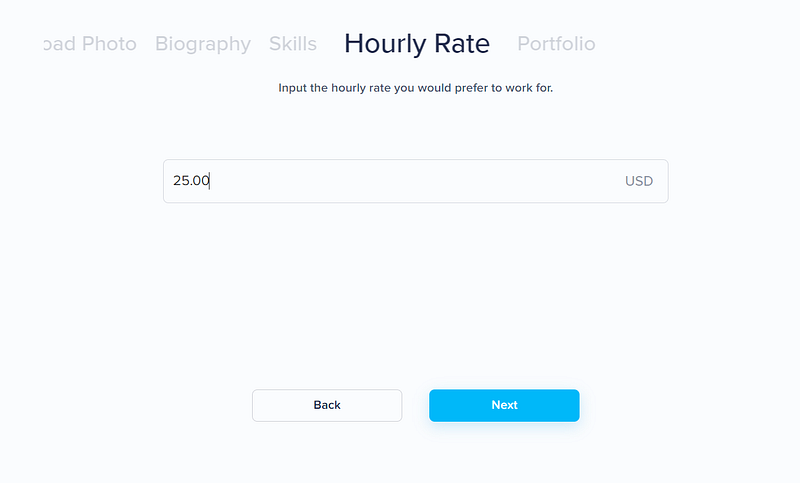
Hourly Rate
Next you can set a preferred hourly rate you would like to charge for your various skills and experience. While you can put any rate, it is a good rule of thumb to insert an appropriate rate according to your expertise, while remaining competitive within the community of freelancers available.
Portfolio
Last, you can optionally create portfolios to even better display your work and experience to prospective employers. Portfolios are built with the following information:
- Cover Image: An image that serves as a thumbnail / cover to your portfolio
- Title: A brief title for your portfolio
- Skills: Specific skills that apply directly to your portfolio of work
- Description: A description with detailed info of the work completed within the portfolio of work.
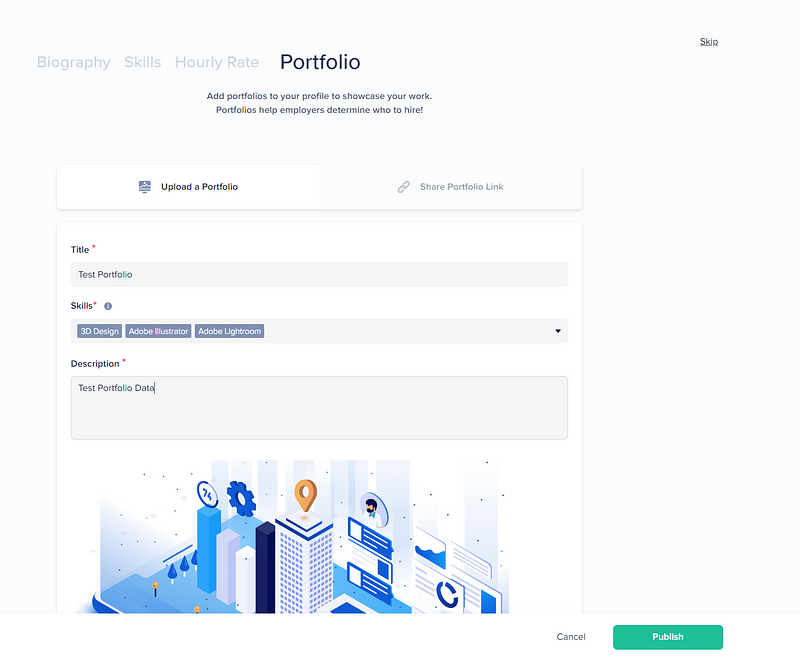
Additionally, you must have at least one example in the following format:
- Image: An image example of your work
- Video: A video example of your work
- Link: A direct link to your portfolio of work

Finally, after publishing your portfolio you will be presented with your completed portfolio template /preview similar to what is shown below.
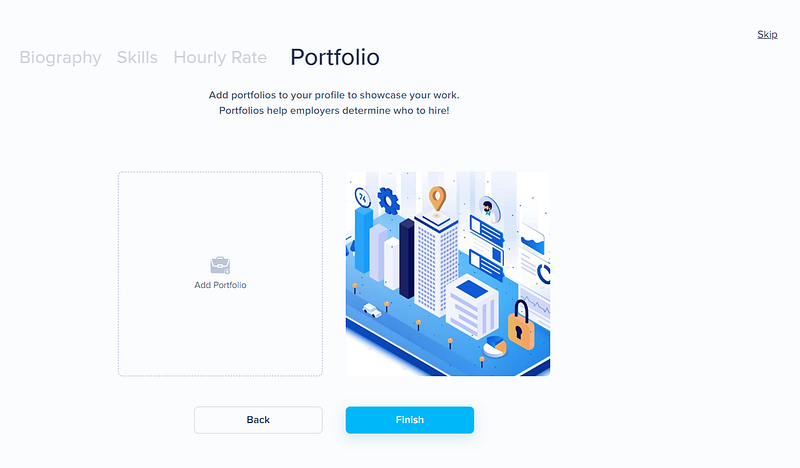
Simply select “Finish” to complete your on-boarding information and apply it directly to your Latium Freelancing platform profile.
Categories of Work Available
Now that you’ve created an account at Latium, you’ll need to identify a project that fits your particular skills and expertise.
The first option for viewing the categories of projects available on the platform is within the main menu at the top of the platform.

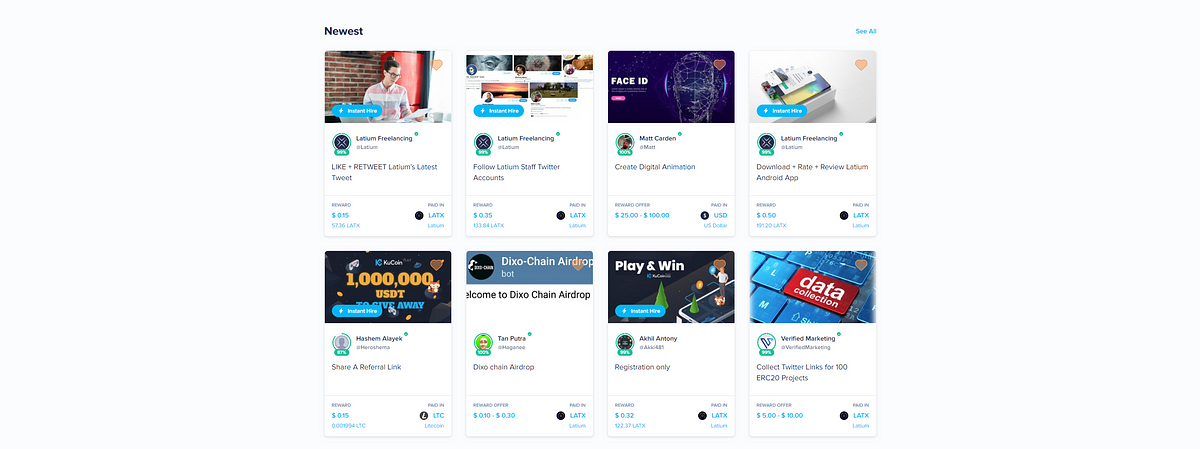
Projects are also categorized within the front page of the Latium Freelancing page by specific categories, as well as “Newest” and “Most Active”. Newest is self explanatory, and is the newest projects created within the Freelancing platform.
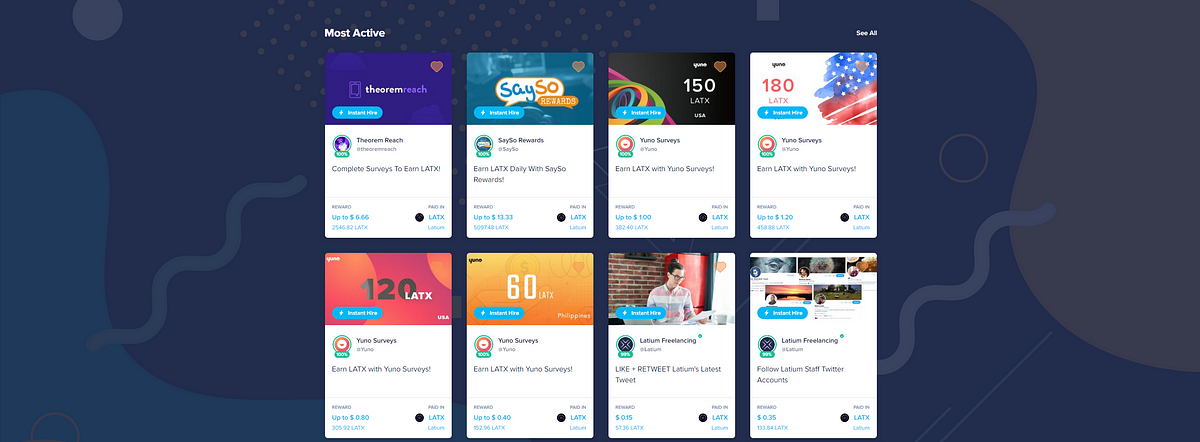
“Most Active” projects are projects which continue to have actively paid out contracts to freelancers who have applied for and completed work for the employer. These projects have continued to have the most up to date and active payouts. This category is always a good place to start as the employers have proven themselves to be engaging and interactive with their freelancer hires.
When actively looking at projects available, there are several key things to pay attention to when reviewing possible projects and considering applying to work.

The information available before opening a project details is as follows:
- Cover Image: An image uploaded by the Employer that briefly visualizes the Project
- Employer Display Name: This is the public display name of the Employer
- Employer User Name: The full, unique username of the Employer
- Project Description: The overall description of the project
- Reward: The amount paid after completion and review of the project. This is in USD equivalent of the current pricing of the token amount displayed.
- Paid In: The native token that is being used as currency for this specific project
Detailed Project Information
Upon selecting a project to view more details, you are presented with the full range of work necessary before applying for a project.
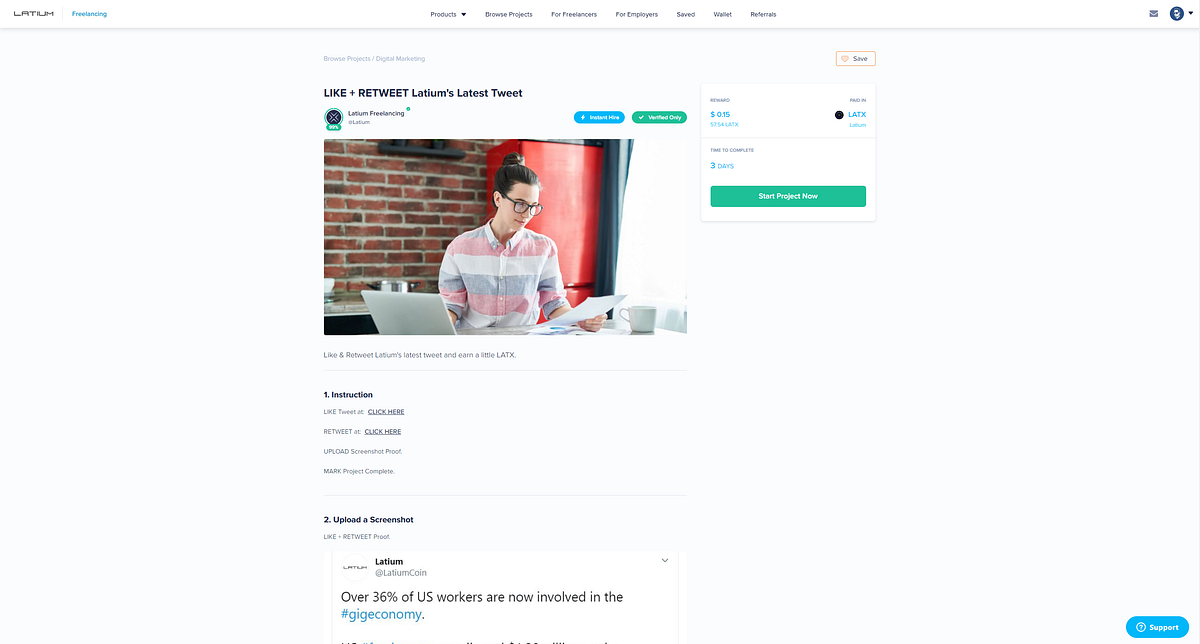
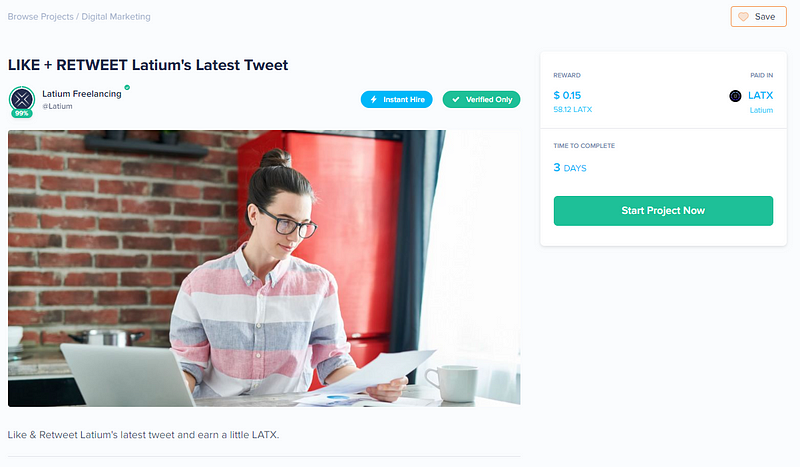
In our example above, you can also see the two labels attached which describe further information regarding the freelancing project.

Specifically:
- Instant Hire.
- Verified Only
Instant Hire denotes that the project instantly hires after you select Start Project Now. In other cases, Employers are also able to have the following options for hire:
- Instant Hire
- After Review
- Receive Bids
Instant Hire
In an Instant Hire project, if you meet the requirements for starting, you will be immediately hired by the Employer as soon as you select Start Project Now.
After Review
With a traditional project, you can apply to complete the work for the employer, and must wait for your application to be reviewed and accepted. After acceptance, you can then communicate with the employer directly to discuss and complete the required work.
Receive Bids
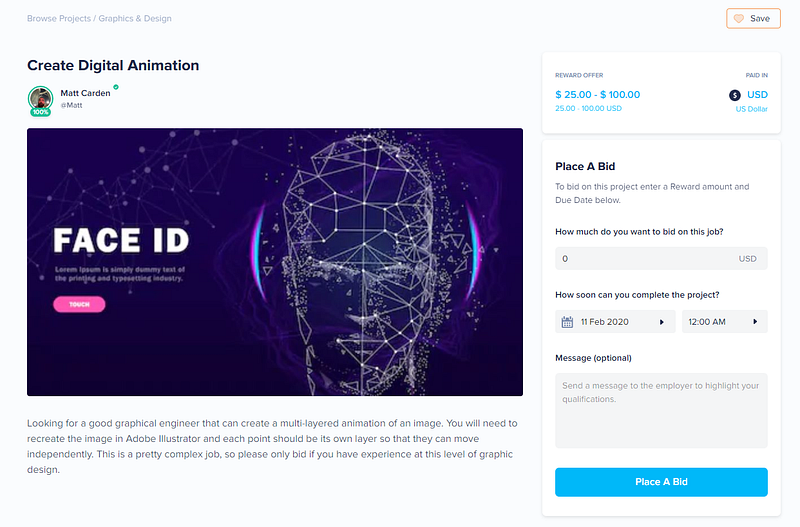
In a project that receives bids, the employer has elected to allow for bids within a set range of pricing. In this instance you are able to select your estimated date of completion and pricing in USD that you are willing to complete the work for.
Let’s take a look at an instant hire for more details about completing work and sending proof to an employer.
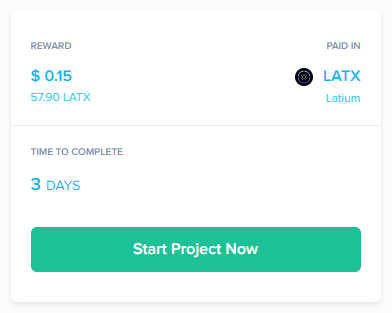
After reviewing the project, let’s select Start Project Now.
After starting the project, since this is an Instant Hire project, your screen will change at the top of the platform to notate the time remaining to complete your work within the agreed schedule.

Another change you’ll notice is the ability to communicate in chat with the employer directly. From this chat box you can communicate with the employer and you will notice automated messages that outline various actions such as starting work, uploading screenshot proofs or marking the project complete.
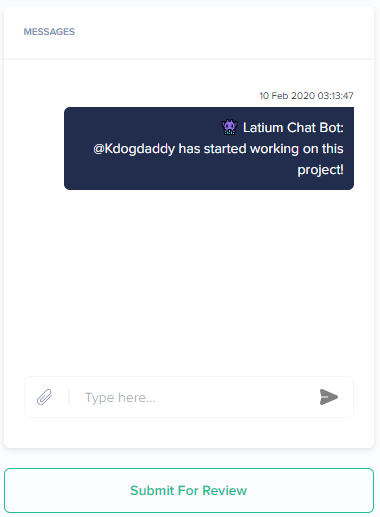
From here you can communicate with the employer directly as needed.
After starting work on the project or being hired, your next step would be to complete the steps outlined within the employers project. In this case, it was asked to follow Latium Twitter accounts, as well as upload a screenshot proof to prove you’ve completed the project.
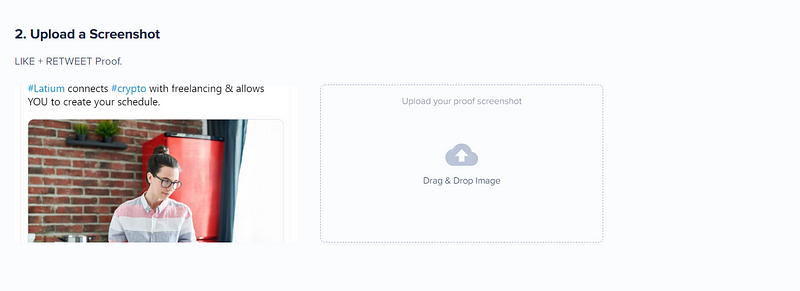
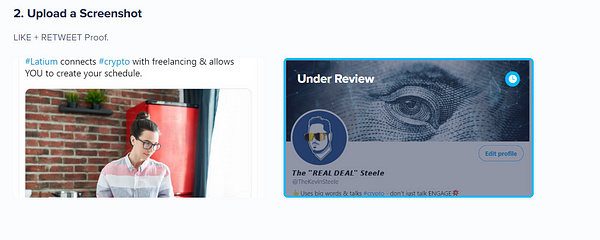
Create a screenshot as specified by the employer, while paying attention to any details or specifics they’ve included. After upload, you’ll notice that the status displays as “Under Review”. This means that the Screenshot Proof is available to the employer, but still requires review.
If there’s an issue with your Screenshot Proof upload, the employer will be able to fail the screenshot, and ask that you reupload an appropriate image.
In this case, we’ll submit the project for review as we are confident in the accuracy of the screenshot proof.
You’ll notice an update to your messaging window, as you’ve submitted the project for review to the employer.
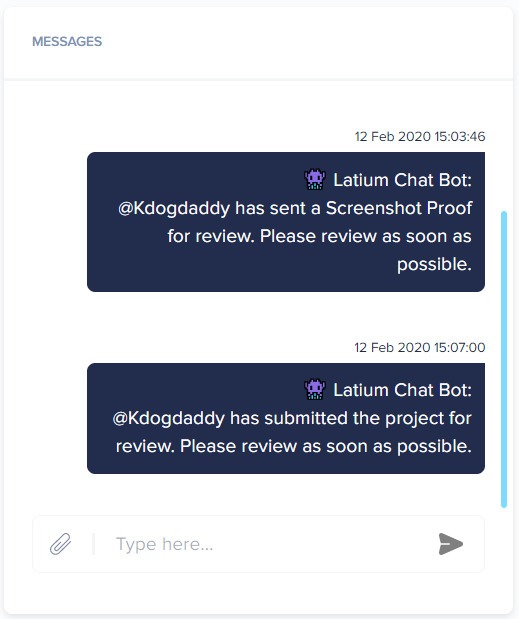
Your work for this project is now complete, while pending the employer to review and accept, or fail, your project submission.
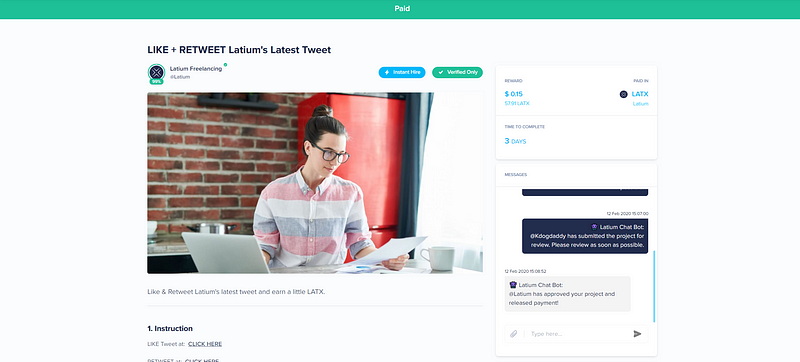
After successful review by the employer, you will see that your status has changed to “Paid” with appropriate communication added to the messages window.
The contract reward is displayed within your wallets and transactions page as well.
With that, you’ve completed your first project as a freelancer!
Bidding on a Project
Bidding on a project varies slightly to the flow displayed above. In a project that allows bidding, you are actually telling the employer the reward / rate you are willing to work for to complete their listed work provided within the project.
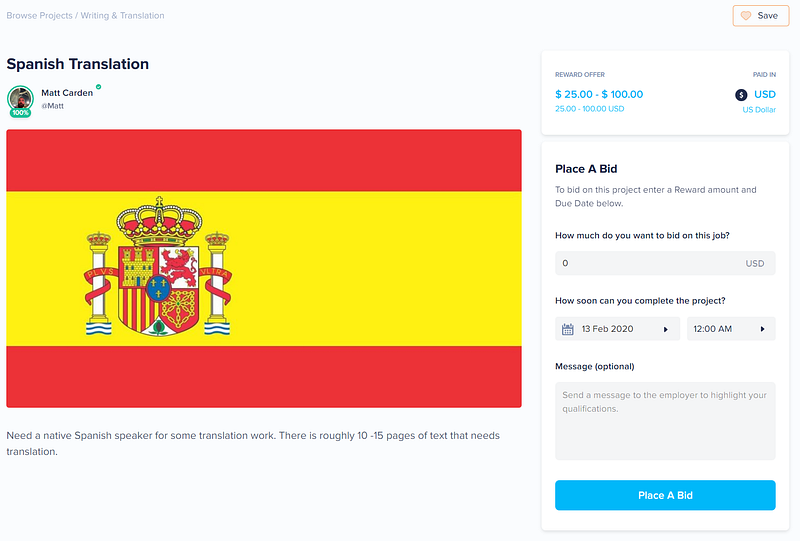
Rather than have a set reward, you are allowed to competitively bid for an opportunity to work on the project. The fields are outlined as:
- How much do you want to bid on this job?: This is pricing in USD equivalent
- How soon can you complete the project?: Set a date that you feel comfortable completing the work within
- Message: This allows you to give any specific details, qualifications or questions to the employer directly, to attach with your bid.
After a successful bid entry, you’ll notice the status change to Under Review while the employer reviews your qualifications and bid amount.
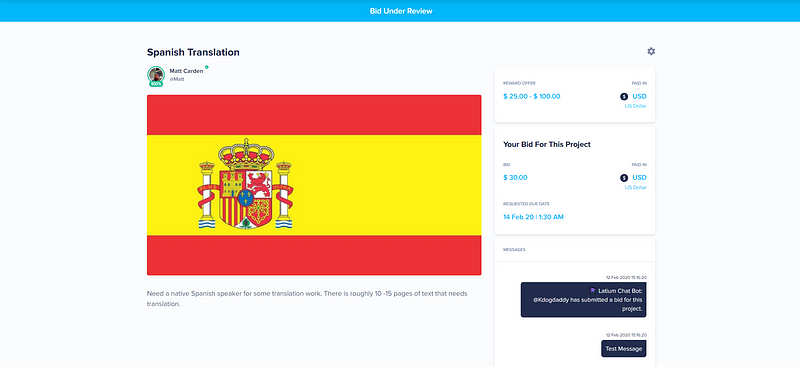
After acceptance of your bid to a project, the workflow is identical to other projects, as you complete the work specified, provide examples, deliverables or screenshots via chat, or the screenshot proof feature.
The Latium Freelancing platform is full of numerous opportunities for freelancers and employers alike to both create and fund projects, as well as earn by completing these tasks. With a wide selection of categories and employers, the possibilities are endless in both what you want to accomplish, as well as what you want to earn.
We hope this has helped get you started with many of the key features of the Latium platform. With active development in process, the development team will continue to integrate new and exciting ways for employers and freelancers to interact and quite simply: Get it DONE.
Thank you for your interest in the the Latium platform. As always you can follow us on Twitter for the latest news, updates and developments as we progress.


